


How to Use OBS Studio as a Beginner: Full Guide
Master OBS Studio from scratch using the updated version 32 interface. Learn how to configure scenes, clean up microphone audio, apply optimal recording settings, and run smooth video streams without confusing technical jargon or broken files.
Chinedu | 15 Oct. 2026, 12:58 AM · 12 min read

OBS Studio is completely free, open-source software that places zero watermarks or time limits on your video projects. This walkthrough uses the updated OBS Studio 32 release, featuring native crash-resistant Hybrid MP4 files, visual source thumbnail previews, and integrated audio controls. Whether your goal is recording computer software tutorials, broadcasting live gameplay to online platforms, or improving your video feed inside workplace video calls, choose your primary path below to jump straight to the necessary instructions:
- Screen Recording and Education: Skip directly to Step 2, Step 3, and the local recording table in Step 5 to capture clean offline video files.
- Live Streaming: Complete every step in order, paying special attention to the audio mixer rules in Step 4 and streaming bitrates in Step 5.
- Remote Work and Presentations: Focus on Step 2 and Step 3, then proceed directly to the Virtual Camera instructions in Step 6 to connect OBS into Zoom, Microsoft Teams, or Google Meet.
Before touching a single slider, take thirty seconds to understand the software layout. Setting up recording software can feel intimidating when looking at an empty black canvas, but the interface operates on a straightforward modular pattern. If you are configuring a portable workstation for mobile production, review our hardware advice on budget laptops for students and mobile creators to ensure your computer hardware meets baseline encoding demands.
How OBS Studio Works in 60 Seconds: The 5 Docks Explained
A Scene is a visual layout that holds your media elements, identical to a single slide inside a slide deck. A Source is an individual visual or audio component placed inside that slide, such as a camera feed, computer screen, image overlay, or microphone.
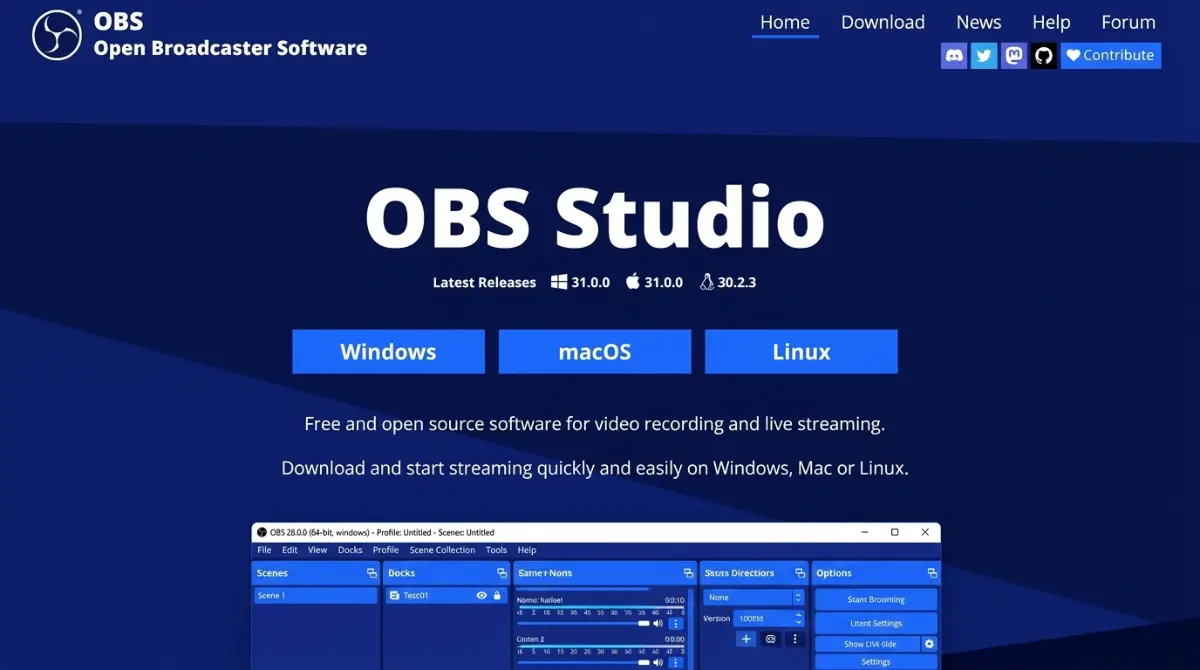
The main screen in OBS Studio 32 is divided into five modular panels called docks along the bottom edge. You can undock, rearrange, or pin these panels anywhere across your desktop monitor:
| Interface Dock | Physical Function | How Beginners Use It |
|---|---|---|
| Scenes | Stores collection layouts | Switch between your talking head view, full desktop screen, and pause screens. |
| Sources | Contains visual and audio inputs | Add webcams, desktop monitors, text boxes, images, and browser overlays. |
| Audio Mixer | Monitors and adjusts decibel volume levels | Balance vocal microphone clarity against background computer audio. |
| Scene Transitions | Sets transition animations | Choose smooth fades or instant cuts when changing between scenes. |
| Controls | Master operational triggers | Click buttons to start recording, start streaming, start virtual camera, or open settings. |
Step 1: Download OBS and Run the Auto-Configuration Wizard
Download the official installer directly from the open project portal at obsproject.com. Avoid third-party mirror portals that bundle unwanted adware installers. Run the setup file, open the program, and allow the software to launch the Auto-Configuration Wizard on its first boot. If the prompt does not pop up automatically, click Tools in the top menu and select Auto-Configuration Wizard.
The wizard asks you to pick your primary operational objective. Select Optimize for recording, I will not be streaming if you only plan to save local tutorial files to your storage drive. Select Optimize for streaming, recording is secondary if your intention is broadcasting to YouTube, Twitch, or Kick. The tool inspects your processor, graphics hardware, and display resolution, applying sensible hardware defaults automatically. Accept the suggested settings; you can refine them manually once your audio and visual layers are established.
Step 2: Create Your Asset Folder and First 3 Scenes
Before building visual layouts, establish proper file storage habits. OBS Studio does not embed images, audio files, or video overlays into your project file; it simply links to their physical file paths on your computer drive. If you import a background image from your generic Downloads folder and later empty that folder, your OBS scene will break, showing empty white boxes.
Open your computer file explorer, navigate to your Documents folder, and create a permanent folder named OBS_Assets. Save all your webcam borders, audio clips, logo images, and stream banners inside this folder. Maintaining organized local folders prevents missing asset errors during live productions, matching clean file management practices we detailed when Google Docs added native markdown file formatting.
Now return to OBS and set up three foundational scenes inside the Scenes dock by clicking the + icon at the bottom of the panel:
- Starting Soon: Used before presentations begin, showing a static background graphic and quiet music.
- Main Presentation: Your primary workspace, holding your computer screen capture and your corner webcam.
- Be Right Back: A holding screen used when you need to step away from your desk without exposing your private room.
Step 3: Add and Layer Your Video Sources
Select your Main Presentation scene inside the Scenes dock. Move your mouse to the Sources dock directly to the right. Click the + button to add visual inputs. In OBS Studio 32, this menu displays thumbnail previews of each component, showing you what each input represents before adding it to your screen.
Beginners frequently pick the wrong capture method, resulting in accidental privacy leaks. Consult this reference table to select the correct video input for your specific task:
| Source Option | What It Captures | Best Use Case | Privacy Exposure Risk |
|---|---|---|---|
| Display Capture | Entire desktop screen | Tutorials that jump between several applications. | High: viewers see all incoming pop-up notifications, open browser tabs, and private taskbars. |
| Window Capture | One isolated software program | Presenting a single PDF document, browser window, or Photoshop project. | Low: switching programs hides other software behind a clean frozen window. |
| Game Capture | Direct 3D graphics buffer | PC video games running in fullscreen mode. | None: hooks directly into 3D graphics engines without displaying background desktop elements. |
Add your chosen screen input, then click + again and select Video Capture Device to add your USB webcam. Name the layer Facecam and pick your camera from the device list. If you want to use a high-end smartphone camera as your primary optical feed, inspect our review of the iPhone camera hardware capabilities to see how modern mobile sensors handle studio video output.
Layer order matters inside the Sources dock. OBS functions like physical sheets of paper stacked on top of each other. The item at the very top of the list sits in front; items lower down sit behind. Ensure your Facecam source is placed higher in the list than your display capture, otherwise your screen capture will completely cover your camera feed. Once your sources sit in the correct order, practice these four essential sizing shortcuts on your canvas:
- Crop unwanted room clutter: Hold the Alt key (or Option on macOS), click any red bounding box handle on your webcam feed, and drag inward. The border turns green, cropping out unwanted background areas instead of shrinking the image.
- Fit oversized feeds instantly: Press Ctrl + F (or Cmd + F on macOS) to snap any oversized source to fit your canvas dimensions.
- Center any item: Press Ctrl + D (or Cmd + D on macOS) to place the selected element in the middle of your screen.
- Lock finished layers: Click the small padlock icon beside each source in the dock. This prevents accidentally moving or stretching elements while working.
Step 4: Set Up Crisp Audio Using the -6 dB Rule and 3 Filters
Poor video quality is tolerable to online viewers, but harsh, buzzing audio causes audiences to close videos immediately. In the Audio Mixer dock, you will see horizontal volume meters that bounce while you speak. These meters are divided into three distinct color zones: Green (quiet, -60 dB to -20 dB), Yellow (healthy speaking range, -20 dB to -6 dB), and Red (distorted clipping, above -6 dB).
Speak into your microphone in your normal presenting voice. Your volume bars should bounce comfortably inside the top half of the Yellow zone, peaking around -6 dB. If your meter pushes into the Red zone, your voice will crackle and distort. Drag the volume slider downward until your loudest words stay below the red boundary. For detailed acoustic monitoring, pair your workstation with balanced studio monitors or check our review of the Sennheiser Momentum 5 wireless headphones to catch subtle vocal flaws before going live. If you are using wireless earbuds for mobile calls, review our AirPods 5 wireless charging edition buyer guide to avoid audio latency delays.
To eliminate background room fan noise, keyboard typing clatter, and sudden volume spikes, add three basic filters to your microphone. Click the three vertical dots beside your Mic/Aux track inside the mixer, select Filters, and add these three items in this exact sequence:
- Noise Suppression: Click +, choose Noise Suppression, and pick the RNNoise (good quality, more CPU usage) method. This uses local neural algorithms to eliminate computer fans and air conditioning hum without distorting your voice.
- Compressor: Click + and select Compressor. Keep the default settings. A compressor automatically tames loud shouts while gently lifting quiet whispers, maintaining a consistent listening volume.
- Limiter: Click + and choose Limiter. Set the Threshold slider to -2.0 dB. A limiter acts as a safety ceiling, preventing your audio from ever crossing into the red distortion zone regardless of how loud you speak.
Step 5: Best OBS Output Settings for Beginners
Click the Settings button in the bottom Controls dock and open the Output tab on the left menu. Change the top Output Mode dropdown menu from Simple to Advanced. This unlocks separate tabs for streaming and local recording. Use this reference table to configure your parameters according to your intended delivery format:
| Parameter | Live Streaming Settings | Local Recording Settings |
|---|---|---|
| Target Tab | Output > Streaming | Output > Recording |
| Video Encoder | Hardware (NVIDIA NVENC, AMD AMF, or Apple VT) | Hardware (NVIDIA NVENC, AMD AMF, or Apple VT) |
| Recording Format | Handled by stream ingest | Hybrid MP4 (Crash-proof and universally compatible) |
| Rate Control | CBR (Constant Bitrate) | CQP (Constant Quality Parameter) |
| Bitrate / Quality Target | 6,000 Kbps (for 1080p at 60 frames per second) | CQ Level: 20 (Values between 18 and 22 offer clean video) |
| Keyframe Interval | 2 seconds (Mandatory for Twitch and YouTube) | 0 (Auto) |
Older internet guides instruct beginners to record in the MKV file format and manually remux videos to MP4 inside the File menu to prevent corruption if OBS crashes. In OBS Studio 32, this workaround is obsolete. The software now defaults to Hybrid MP4, which writes continuous index markers directly to your storage drive. If your computer loses power or OBS closes unexpectedly, your video file remains readable and uncorrupted up to the exact second of the crash. If your computer relies on dedicated processing silicon, you can read our report on AMD hardware processing architectures to understand how modern hardware encoders process video frames without overloading system memory.
Step 6: Going Live, Recording, or Using Virtual Camera
With visual sources layered and audio filters active, your system is ready to output media. Choose your operational method below:
Starting a Live Stream
Open Settings > Stream. Select your streaming platform from the dropdown menu, such as Twitch or YouTube. Click Connect Account to sign in securely through your browser. If you prefer using a manual stream key, select Use Stream Key, paste your secret key obtained from your platform creator dashboard, and click Apply. Return to the main window and click Start Streaming in the Controls dock.
Saving Local Video Recordings
Click Start Recording in the Controls dock. A green square and an active time counter will appear along the bottom status bar, confirming that frames are being saved to your computer. When you finish speaking, click Stop Recording. To find your completed video file immediately, click File in the top menu and select Show Recordings. Your operating system file manager will pop open displaying your completed MP4 file.
Using OBS as a Virtual Camera in Video Meetings
If you want to use your layered OBS scene inside corporate meetings, click the Start Virtual Camera button inside the Controls dock. Open Zoom, Microsoft Teams, or Google Meet, enter your application video settings, and select OBS Virtual Camera as your camera device. Your coworkers will see your polished presentation layout, complete with cropped webcams and text overlays, without requiring screen-share permissions.
4 Common OBS Beginner Mistakes and How to Fix Them Fast
Even with correct settings, beginners occasionally encounter system snags. These four solutions address the most common setup errors:
- Black Screen on Display Capture: This happens on Windows laptops equipped with dual graphics processors (an integrated battery-saving chip and a dedicated gaming graphics card). Close OBS, open Windows Graphics Settings, locate OBS Studio, click Options, and set it to Power Saving if capturing desktop windows, or High Performance if capturing heavy 3D software.
- Blurry, Pixelated Local Recordings: If fast movement causes your local recording to look smudged, you left your Recording Rate Control on CBR at a low bitrate. Open Settings > Output > Recording, change Rate Control to CQP, and set the CQ Level to 20. CQP dynamically allocates disk space to preserve sharp details during high-motion scenes.
- Cannot Hear Alerts or Video Audio in Headphones: If media sources play visual animation but emit no sound in your personal headset, your audio monitoring is turned off. Click the three dots in the Audio Mixer dock, select Advanced Audio Properties, locate your media track, and change the dropdown setting from Monitor Off to Monitor and Output.
- Encoding Overloaded Alert at Bottom of Screen: This warning appears when your computer processor cannot encode video frames as fast as they are generated. Open Settings > Output and ensure your Video Encoder is set to a hardware option (NVENC, AMF, or QuickSync) rather than software (x264). If the error persists, open Settings > Video and drop your Common FPS Values from 60 down to 30.
If you run complex desktop recording stations with multiple external monitors and capture cards, using a multi-port hub prevents device disconnection issues. Examine our review of the Anker 12-in-1 multi-port desktop dock to ensure your USB bus delivers adequate electrical bandwidth across all connected video inputs. For high-resolution monitor calibrations, review our hands-on analysis of the Dell 14s display color reproduction to ensure your visual assets render accurately across different screens.
Read More on TechRobust:

Chinedu
 LinkedIn
Chinedu
Expertise:Consumer Tech Reviews, Comparative Analysis (Versus Testing), Product Benchmarking, Technical Tutorials, Consumer Buying Advice
Award:TechRobust Reviewer of the Year 2025
Chinedu serves as Editor-at-Large overseeing TechRobust’s buyer guidance and utility verticals. He specializes in methodical product teardowns, head-to-head showdowns, curated buyer lists, and deep-dive instructional guides, delivering actionable, evidence-driven verdicts that help readers make informed hardware and software decisions.